Creating an Invoice
Part 2 of Accounting and Invoicing management

Nkosikhona Carlos
Last Update 5 years ago
To create and manage your invoices using Prys ERP is a walk in the park. We will today look at creating invoices, registering payments and creating refunds.
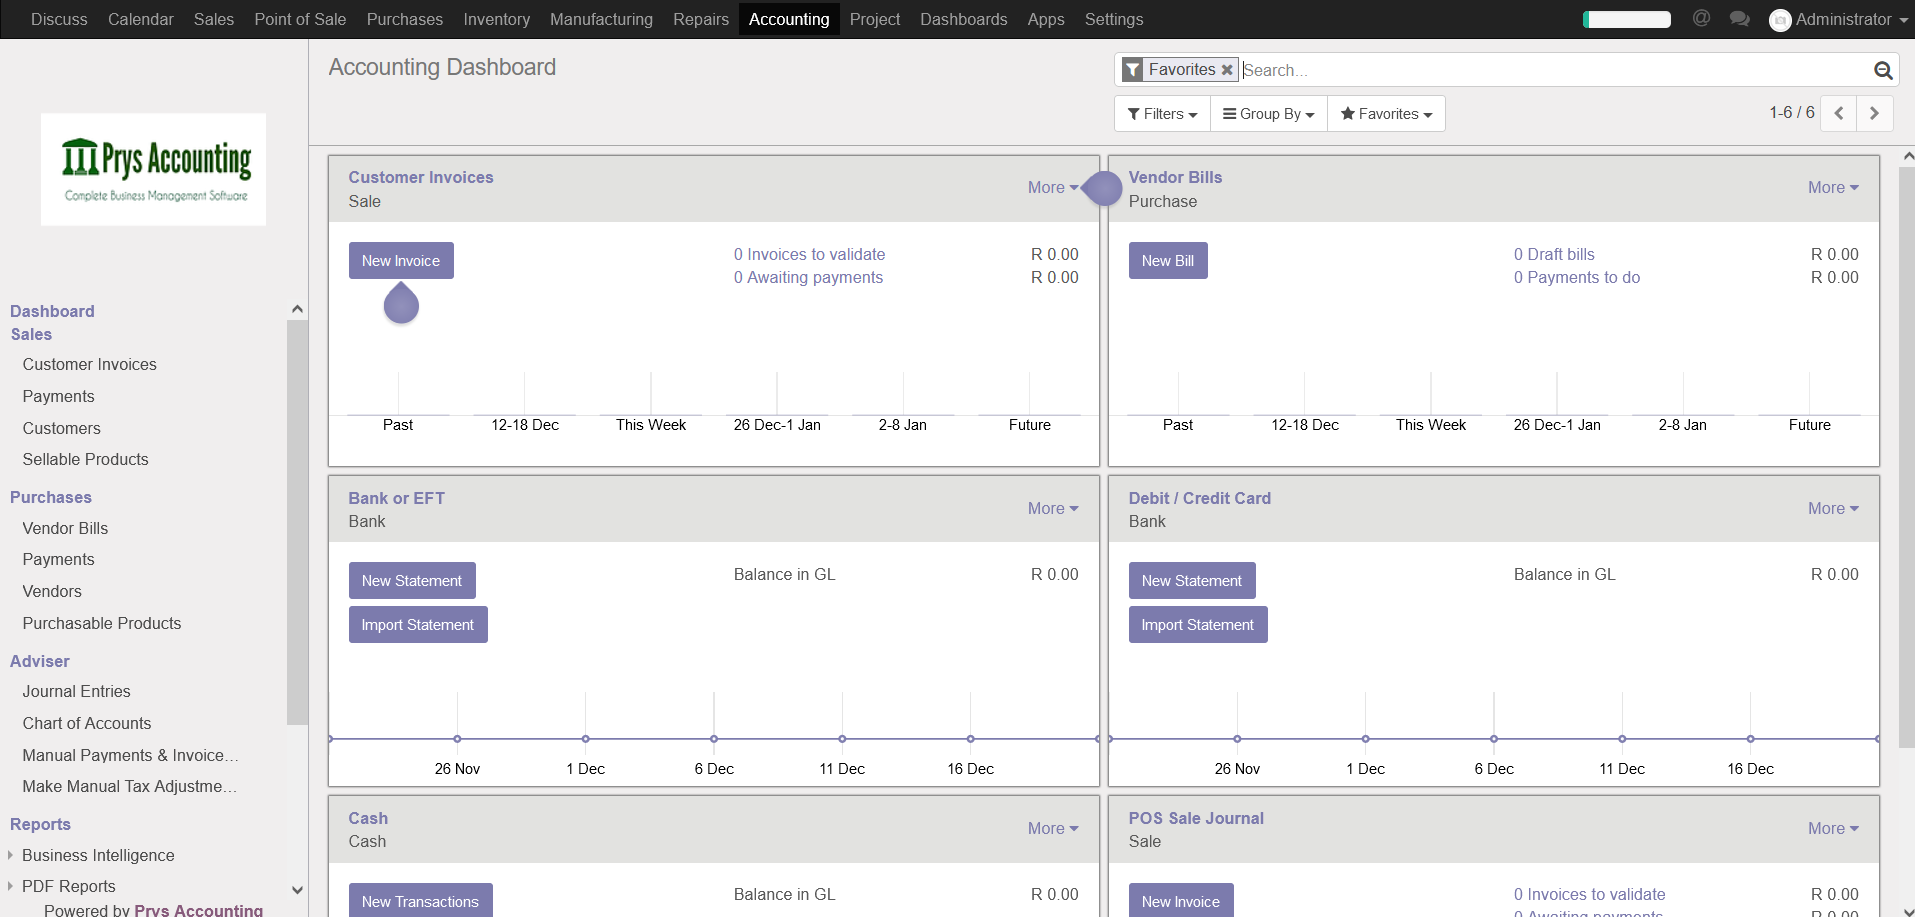
First we will need to navigate to Accounting.
Step 2 will be to navigate to Customer Invoices. This screen will show all current, old and pro-forma invoices

Please take Note of the Various columns above:
Customer: Your Customer - the Partner that was invoiced
Invoice Date: Date Invoice was generated or created
Invoice Number
Sales Person: Can be set when invoicing to set who created or processed the invoice
Due Date: Payment due date as set by the user or software
Source Document: Quotation Number if invoice was generated from a quote or sales order.
Total: Total Invoice amount
Amount Due: If the payment was not registered for that specific invoice, this will calculate the total amount due and will show until payment is allocated. This helps see how your creditors and debtors are doing.
Creating an Invoice
Click on *Create* an Invoice and select the customer; you may Create and Edit new customers so they are stored on your software for future use.
Scroll Down to "Invoice Lines" to add invoice items, you will be able to select multiple products and also change selling prices as you invoice.
The invoice totals will be displayed at the bottom of the screen

When Done, scroll back to the top of the page so you can Validate you Invoice. You will be able to send invoices direct to the customer via email (Needs an active internet connection and Outgoing email settings setup).

When a payment is made for the invoice you will need to tell the software about that payment, and that is done via "Register Payment"; you will need to select the Journal or Payment Method.
Creating Refunds.
When creating a refund against an invoice you will need to go to Customer Invoices.
Select the invoice you wish to refund.
Click on Refund Invoice and select the refund type
- Create a draft refund: You will be able to edit and validate this credit note directly or keep it draft, waiting for the document to be issued by your supplier/customer.
- Cancel: create refund and reconcile: Use this option if you want to cancel an invoice you should not have issued. The credit note will be created, validated and reconciled with the invoice. You will not be able to modify the credit note.
- Modify: create refund, reconcile and create a new draft invoice: Use this option if you want to cancel an invoice and create a new one. The credit note will be created, validated and reconciled with the current invoice. A new, draft, invoice will be created so that you can edit it.
The last two Options will only work if there was no payment registered to the invoice.
When done you must give a reason why the refund is being done, process and follow the steps to process a refund. You may delete the items from the Credit Note line, the items you delete will not be refunded.
One last process you will have to cancel the stock move to return the stock back to your inventory.
This is done by going back to the invoice you just refunded.
- Click on Picking
- Click on Return
- Delete all the items that are not being returned and mark them on to refund.
- Click on Return